The biggest mistakes in a first van conversion
A first van conversion usually starts with a lot of enthusiasm. You've saved photos, watched videos, drawn layouts, and perhaps already made a list of wood, insulation, solar panels, and a nice sink.
By Laurens De Leeuw · 16 July 2026
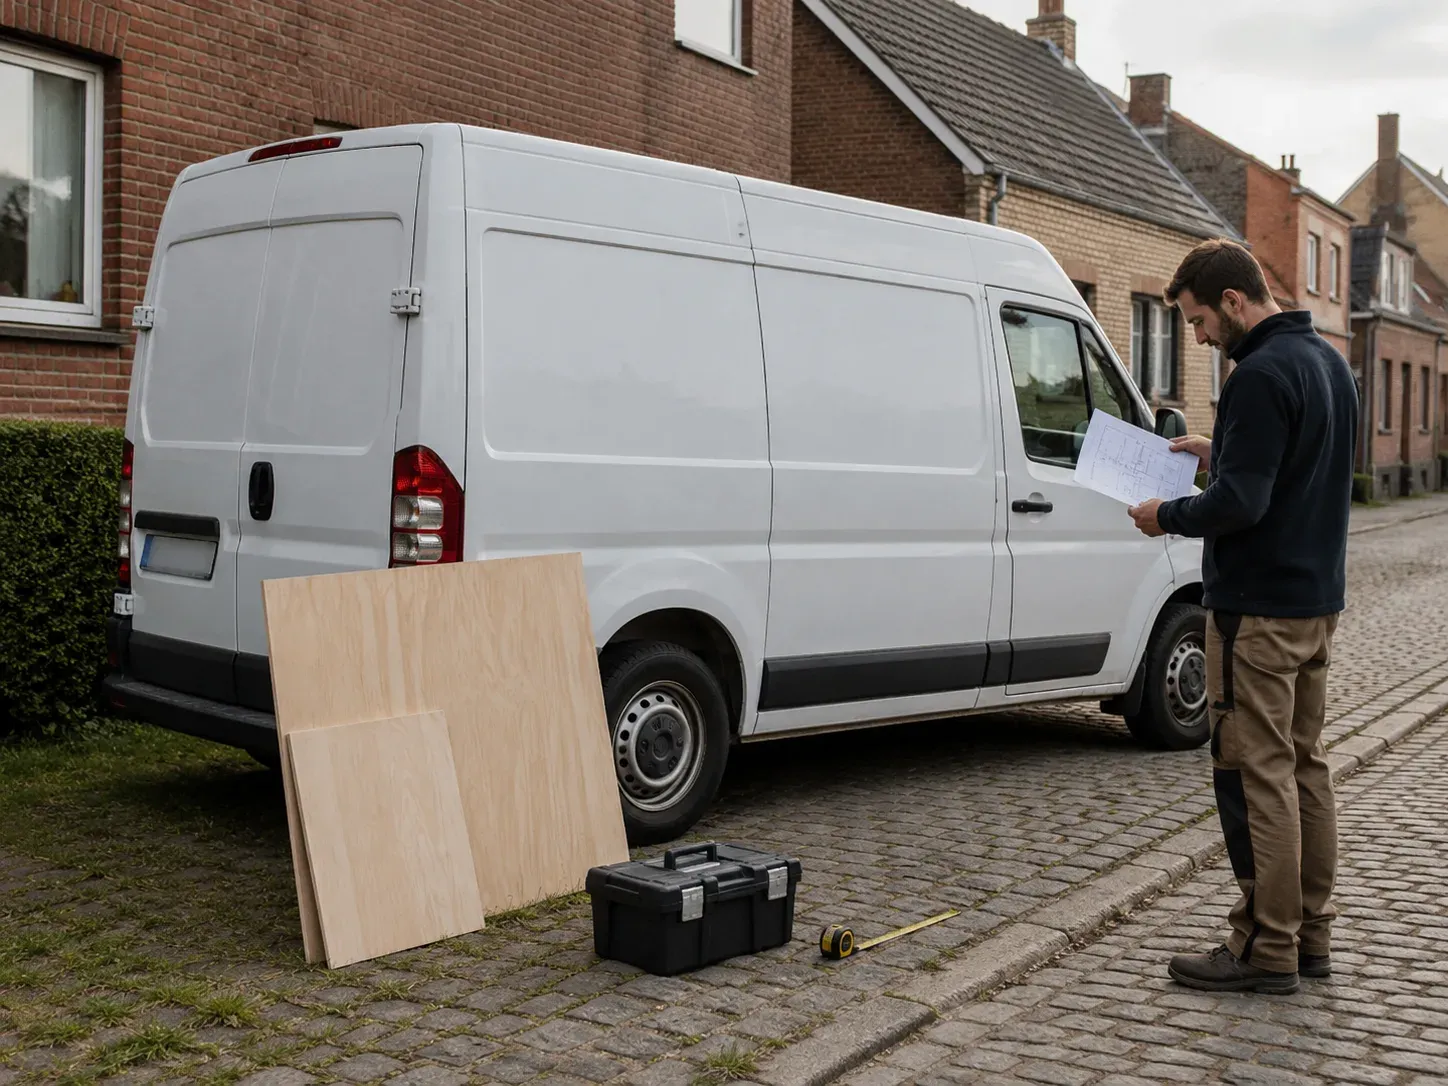
A first van conversion usually starts with a lot of enthusiasm. You've saved photos, watched videos, drawn layouts, and perhaps already made a list of wood, insulation, solar panels, and a nice sink.
That enthusiasm is good. You'll need it, because a van conversion takes time, money, and a good deal of patience.
But it's precisely in those first few weeks that mistakes are often made that will cost the most work later. Not because beginners aren't handy enough, but because they start building too quickly. They saw before the layout is tested, buy materials before the weight is known, and order electricity without first calculating consumption.
The biggest mistake is therefore rarely a crooked cabinet door. It's a wrong choice that continues to affect the entire conversion.
Fortunately, you can avoid many of these mistakes by slowing down first. Measure, test, calculate, and gather information before you drill holes in your van.
Mistake 1: Starting to build without knowing how you'll use the van
A beautiful layout is not necessarily a good layout.
Before you cut a single board, you need to know what you really want to use the van for. A weekend van for summer trips requires something completely different from a van in which you also want to travel, work, and free camp for several days in winter.
Think in advance about:
- do you travel alone, with two, with children, or with a dog?
- will you mainly go away for weekends or also make longer trips?
- do you want to be able to cook inside?
- do you need to be able to work in the van?
- will you also travel in autumn and winter?
- do you usually stay at campsites or do you prefer to free camp more often?
- do you need to be able to stand upright?
- do you take bikes, surf gear, or a lot of hiking equipment with you?
- do you want a fixed bed or a bed that you convert daily?
- how much privacy do you need?
- do you want to officially register the van as a campervan?
As long as those answers are not clear, it's too early to build a definitive layout.
Many first conversions are designed for the ideal summer day. The sliding door is open, you cook outside, and everything feels spacious. Only on a wet November evening do you realize that you can't hang your jacket anywhere, your bed is full of stuff, and you can't eat inside without moving three crates.
So don't just design for good weather. Also design for rain, cold, mud, fatigue, and a day when you just want to stay inside.
Mistake 2: Buying the wrong base van
A cheap van is not automatically a cheap conversion.
Sometimes almost the entire budget is spent on wood, batteries, and nice accessories, while the base van itself has deferred maintenance, rust, or technical problems. Then you end up with a beautiful interior in a vehicle you no longer trust.
When buying, don't just look at brand, color, length, and mileage. Also check:
- maintenance history
- rust on sills, wheel arches, roof seams, and underside
- signs of water ingress
- condition of tires and brakes
- timing belt or timing chain
- clutch and gearbox
- payload capacity
- maximum authorized mass
- Euro norm
- height and length
- location of wheel arches
- width between the walls
- shape and size of the doors
- existing seats and seatbelts
- registration category
- possibilities for homologation
If in doubt, have a used commercial vehicle inspected by an independent garage. A pre-purchase inspection costs money, but usually much less than repairing an engine problem or serious rust after your interior is already built.
Also weigh the empty van as early as possible. Documents provide useful information, but an actual weighing shows how much the van truly weighs at that moment, including existing fittings or accessories.
Mistake 3: Only thinking about homologation and inspection at the end
In Belgium, this is one of the most expensive mistakes you can make.
Anyone who wants to officially convert a vehicle into a campervan must take into account approval, homologation, and technical requirements. According to official Flemish information, such a conversion requires a new individual approval certificate. The agreement of the manufacturer of the base vehicle is a prerequisite.
The date of first registration also determines which procedure must be followed. For more recent vehicles with European homologation, a private conversion can only be included in an individual approval file via a recognized technical service.
This is not an administrative matter that you should “look at later”.
Discuss your plans in advance, especially for:
- additional driving seats
- seatbelt points
- swivel bases under the front seats
- removing or modifying a bulkhead
- pop-top or sleeping roof
- openings in the roof or bodywork
- change of vehicle category
- fixed gas installation
- fixed living accommodation
- changes to load-bearing parts
- major changes to doors or access points
A bench with a seatbelt is not automatically an approved driving seat. A swivel base under an original seat can affect the existing approval of that combination. A pop-top must comply with the guidelines and the agreement of the base manufacturer.
So, inquire first. Sawing and asking for permission afterwards is a particularly expensive sequence.
Mistake 4: Making structural holes before the full layout is finalized
You don't just place a roof hatch, side window, heater, filler opening, or external connection somewhere because there seems to be space at that moment.
That opening affects:
- your furniture
- overhead cabinets
- solar panels
- roof racks
- ventilation
- curtains
- lighting
- cable routes
- water pipes
- future expansions
- structural parts of the bodywork
A roof fan above your cooking area seems logical, but perhaps that's also the best spot for your solar panel. A window next to your bed can be nice, but your pillow might hit it or you might not be able to open it. An external connection can disappear behind a cabinet that you only design later.
Therefore, first create a complete technical floor plan.
Don't just draw furniture, but also:
- windows
- roof hatches
- solar panels
- cable glands
- heating
- exhaust and air intake
- water points
- filler openings
- gas storage
- fuse box
- battery
- inverter
- refrigerator ventilation
- service panels
Then check from both inside and outside if everything can coexist.
Only when that's right, does the drill come out.
Mistake 5: Blindly copying an internet layout
A popular layout is not automatically suitable for your van.
In photos, you usually only see one corner. You don't see how someone gets out at night, where the shoes are, how the bed is made up, or how much space is left when two people are inside at the same time.
Body height also makes a big difference. A bed that is perfect for someone 1.68 meters tall does not automatically work for someone 1.90 meters tall. One person wants to cook extensively, the other lives on wraps and coffee. One takes bikes, the other a dog.
So use online examples as inspiration, not as a blueprint.
First test your layout at full scale with cheap materials:
- cardboard boxes
- painter's tape on the floor
- empty crates
- old wooden boards
- a temporary mattress
- folding chairs
- cardboard cabinet walls
Then actually sit in the van.
Pretend to cook. Convert the bed. Take off your shoes. Open all imaginary drawers. Stand side-by-side with two people. Try to get out at night. See if the refrigerator can still open when someone is sitting.
That might feel exaggerated, but an afternoon of testing can prevent weeks of rework.
Mistake 6: Blocking the passage or door
A bed, kitchen unit, or cabinet may look nice, but you still need to be able to get in and out of your van normally.
However, in initial designs, you often see the bed extending into the sliding door opening, a drawer blocking the entire passage, or someone having to crawl over a bench to get out.
That's not just annoying. It can also become a safety issue.
Official Flemish requirements for campervans pay attention to access and emergency exits. If a normal access door is blocked, there must be an alternative evacuation option. Elements that obstruct the passage must be easily removable.
In practice, I would think even simpler: ensure that at least one exit remains usable at all times without puzzling.
Therefore, test:
- can you step in without climbing over the bed?
- can you enter with wet shoes?
- can you quickly get out at night?
- does the passage remain clear when the bed is set up?
- can you reach the driver's seat?
- can you fully open a door?
- can a dog or child safely get in and out?
- can you leave without first dismantling half the van?
A clear passage seems like wasted space, but it isn't. It's living space, workspace, and safety margin all at once.
Mistake 7: Wanting to fill every inch
In a small van, empty space feels like a waste. As a result, beginners often build cabinets, compartments, shelves, and drawers everywhere.
The result is usually a van that is efficient on paper, but in reality feels cramped and impractical.
You also need space for:
- yourself
- temporary groceries
- a wet jacket
- shoes
- a backpack
- a laundry bag
- items that need to dry
- something you buy along the way
- maintenance
- access to technology
- a dog that wants to turn around
- children playing inside for a bit
Therefore, consciously plan for some empty space.
Not every wall needs to be full. Not every corner needs a cabinet. Not every free inch under the ceiling needs to become an overhead cabinet.
A small van often feels larger when you keep one wall clear and leave enough room to move. That provides more comfort in daily use than another extra cabinet with items you almost never use.
Mistake 8: Only checking the weight when everything is finished
Weight is one of the most underestimated aspects of a van conversion.
A sheet of wood doesn't seem that heavy. A battery isn't too bad. A water tank either. But together with insulation, flooring, furniture, refrigerator, solar panels, gas, mattress, luggage, bicycles, food, tools, and passengers, it quickly adds up.
With a regular B driving license, you can drive a vehicle with a maximum authorized mass of no more than 3,500 kg, within the other conditions of category B. Many self-builders therefore want to stay below that limit.
But the vehicle must not only stay below its MAM. There must also be sufficient useful payload remaining for people and luggage.
In the official determination of a campervan's tare weight, the converted vehicle is weighed with, among other things, fuel, drinking water, and gas filled to at least 90 percent. The weight of these systems therefore does not disappear from the equation because you leave them empty during an initial test.
Create a weight table from the start:
| Component | Estimated weight | Actual weight |
|---|---:|---:|
| Empty base van | | |
| Floor and insulation | | |
| Wall and ceiling finish | | |
| Furniture | | |
| Bed and mattress | | |
| Electrical installation | | |
| Water and tanks | | |
| Gas and cooking equipment | | |
| Solar panels and roof material | | |
| Passengers | | |
| Luggage and supplies | | |
| Bicycles or sports equipment | | |
| Safety margin | | |
Weigh materials when you buy them. Note the actual weight. And have the van weighed at least once during construction.
Waiting until the last screw is in place leaves you no room to make smart adjustments.
Mistake 9: Only looking at the total weight
Even if you stay below the MAM, the weight can be poorly distributed.
Placing a heavy battery, full water tank, and toolbox all on the left rear can heavily load one side or axle. This affects driving behavior and can cause you to exceed an allowed axle load while the total weight still seems acceptable.
Therefore, preferably place heavy components:
- as low as possible
- securely fastened
- close to the vehicle's longitudinal axis
- logically distributed between left and right
- not all behind the rear axle
- accessible for maintenance
Placing water and batteries low also helps to keep the center of gravity reasonable.
If in doubt, don't just measure the total weight, but also the load per axle. That tells much more about how healthy your layout truly is.
Mistake 10: Building too heavy
A van interior doesn't have to be a house interior on wheels.
Thick beams, heavy countertops, solid wood doors, and thick furniture boards feel sturdy. But often they are heavier than necessary.
Beginners regularly build as if the cabinet will be in a living room at home. A vehicle requires a different approach: light, strong, and resistant to movement.
That doesn't mean everything has to be wafer-thin. It means you consciously choose where strength is truly needed.
Use material based on function:
- sturdy construction for bed, seats, and attachment points
- lighter panels for cabinet doors and finishing
- local reinforcement instead of making everything thick
- as few double walls as possible
- no heavy plate where a light frame suffices
- no solid wood purely because it looks nice
Weigh a full sheet before ordering ten. The difference between two material choices may seem small per cabinet, but over an entire van, it can save tens of kilograms.
Mistake 11: Insulating without a ventilation plan
Many beginners spend hours comparing insulation materials, but hardly any time on ventilation.
Yet, the two belong together.
In a small van, moisture is released by:
- breathing
- sleeping
- cooking
- wet clothes
- shoes
- washing dishes
- a wet dog
- heating and temperature differences
Ventilation removes moisture and stale air. Without sufficient air circulation, you get condensation, musty odors, and possibly mold formation more quickly.
A completely sealed van is therefore not automatically a well-insulated van.
Plan before wall finishing:
- where fresh air enters
- where warm moist air can escape
- whether you need a roof hatch or fan
- how you ventilate while sleeping
- how you ventilate while cooking
- how air can circulate behind the mattress and furniture
- where wet items can dry
Also check that you don't accidentally close off factory vents or necessary openings during the conversion.
Insulation helps retain heat. Ventilation ensures the space remains livable. You need both.
Mistake 12: Wanting to completely hide all metal parts
A van consists of metal, ribs, box sections, and awkward shapes. It's tempting to hide everything behind panels as quickly as possible.
But once everything is closed up, you can no longer see what's happening behind it.
Before closing a wall, it's best to check:
- rust
- damaged paint
- signs of moisture
- existing cables
- door mechanisms
- drainage points
- attachment points
- places where metal can rub
- cable and pipe routes
Treat incipient rust before it disappears behind insulation. Repair water ingress before you continue building. Take photos of each wall before you close it.
That way, you'll know later where reinforcements, cables, and hollow spaces are located.
Mistake 13: Buying electricity before consumption is calculated
A 3,000-watt inverter, 400 Ah lithium, and a roof full of solar panels sound impressive. But you might not need all that.
Or vice versa: you buy a small battery because you think you only need to charge a phone, and later a refrigerator, laptop, router, fan, and heater are added.
Therefore, start with a consumption list.
Note for each appliance:
- power
- usage duration
- daily consumption
- voltage
- peak power
- how important the appliance is
- how you recharge the battery
Only then do you choose the battery, solar panels, charge booster, shore power, and inverter.
A good electrical installation is also not just about capacity. Cable cross-section, cable length, fuses, connections, and heat generation are at least as important. Manufacturers like Victron advise choosing cable and fuse based on current, length, and allowed voltage drop, and keeping heavy current connections as short as possible.
The most common mistakes are:
- cables that are too thin
- no fuse or wrong fuse
- poor crimp connections
- running cables through metal without protection
- loose connections
- using household cable where flexible vehicle cable is needed
- hiding connections behind a permanent wall
- no main switch
- not creating a diagram
- not clearly marking positive and negative
- buying all components without knowing if they work together
First create an electrical diagram. Even a simple diagram with blocks and lines is better than improvising everything during construction.
If in doubt, have your installation checked by someone knowledgeable about 12-volt vehicle systems and 230-volt installations.
Mistake 14: Building in technology inaccessibly
A technical installation always works perfectly on the day you close the wall. The problem usually arises later.
A pump gets clogged. A fuse blows. A coupling starts to drip. A cable needs to be tightened. A filter needs to be replaced.
If you have to dismantle your bed, kitchen, or entire wall for that, the installation was not well designed.
Keep access to:
- battery terminals
- main fuse
- fuse box
- busbars
- charge controller
- inverter
- water pump
- water filter
- tank drain
- gas shut-off valve
- heater
- fuel filter
- cable connections
- faucet couplings
- wheel arches and taillights where necessary
Use removable panels, inspection hatches, or screwed parts. Don't glue everything permanently shut.
A good technical space is not the space you never see. It's the space you can access quickly and safely when something goes wrong.
Mistake 15: Building an overly complicated water system
A fixed fresh water tank, grey water tank, boiler, outdoor shower, pump, accumulator, filter, and multiple taps sound appealing.
But every extra component also means:
- extra weight
- extra connections
- more chance of leakage
- more maintenance
- more space
- harder to clean
- more winter problems
- higher power consumption
For a first small van, a simple system is often smarter.
Loose drinking water bottles, for example, are easy to fill, remove, and clean. A simple submersible pump or hand pump may be sufficient for short trips. You can always expand later when you know what you truly miss.
Whatever solution you choose: all connections must remain visible or accessible. Provide a way to completely drain the system and keep water away from the battery, fuses, and electronics.
A water pipe behind a glued wall is not a neat finish. It's a future problem you can't get to.
Mistake 16: Underestimating gas and heating
Gas is practical, but not a field for sloppy improvisation.
Incomplete combustion can produce carbon monoxide. CO is colorless, odorless, and tasteless. Therefore, the supply of fresh air, correct installation, maintenance, and exhaust of combustion gases are important.
Never use a cooking appliance as a heater.
Also, do not place a barbecue, charcoal appliance, or outdoor heater in your van. Even with a door or window open, that can be dangerous.
If you work with a fixed gas installation or combustion appliance, consider:
- correct ventilation
- suitable materials
- sturdy fastening
- accessible shut-off valve
- safe storage of the gas bottle
- exhaust to the outside where required
- heat-resistant passages
- CO detector
- smoke detector
- fire extinguisher
- fire blanket
If you are unsure how to safely build such an installation, have it carried out or checked by a professional.
A simple cooking solution that works safely is better than an extensive installation you don't trust yourself.
Mistake 17: Treating furniture as if the van is stationary
A cabinet in a house doesn't move. A cabinet in a van has to deal with turns, potholes, vibrations, and emergency stops.
Therefore, “it feels sturdy when I push it” is not enough.
Official conditions for a campervan stipulate that fixed living equipment must be secured. Doors and drawers must remain closed during abrupt maneuvers.
So ensure:
- sturdy attachment to suitable points
- solid connections between furniture parts
- latches on drawers and doors
- anti-slip where necessary
- heavy items low down
- no loose objects above seats
- rounded or protected corners
- no heavy cabinet hanging only from a thin wall panel
Also test the interior while driving. Start gently, listen for rattles, and after the first drive, check if anything has shifted or come loose.
Anything that moves during a normal turn can move much harder during an emergency stop.
Mistake 18: Improvising extra seats yourself
A living bench is not a driving seat.
This seems obvious, yet sometimes benches are built with a loose seatbelt or attachment that was never designed for passenger transport.
An approved driving seat consists of more than a cushion and seatbelt. The seat, backrest, headrest, seatbelt, and anchor points must also be suitable and approved.
Are you thinking about extra seats for children, friends, or family? Research this before you buy the van or build the floor.
It can determine:
- which vehicle is suitable
- where the bench will be placed
- which floor construction is needed
- which seatbelt points are possible
- how many sleeping places are feasible
- which homologation procedure is needed
Adding extra driving seats afterwards is not something you can quickly solve at the end.
Mistake 19: Not accounting for daily clutter
An empty, newly built van always looks spacious.
Then come:
- shoes
- jackets
- groceries
- water bottles
- cables
- toiletries
- dirty laundry
- towels
- food
- bedding
- tools
- dog supplies
- children's items
If these don't have a fixed place, everything will be on the bed and in the aisle within a day.
Therefore, design storage not only for beautiful items, but also for the less photogenic reality.
Provide a place for:
- wet shoes
- jacket
- trash
- dirty laundry
- toilet paper
- towels
- charging cables
- water
- groceries that haven't been put away yet
- items that need to dry temporarily
The dirty zone should preferably be near the door. Daily items should be easily accessible. Material you rarely use can be further away.
A good layout doesn't prevent you from having stuff. It ensures you know where it should go.
Mistake 20: Wanting to finish beautifully too quickly
The most enjoyable part of the conversion is often the finishing touches. Wood oil, handles, cushions, lighting, and decoration finally make the van cozy.
But finishing too early is risky.
First test if everything works technically:
- does the roof hatch leak?
- does the ventilation work?
- do cables get warm?
- does the battery charge correctly?
- does the water pipe stay dry?
- does the pump work?
- can you access all fuses?
- do the furniture rattle?
- does every drawer close while driving?
- does the bed remain comfortable?
- does condensation form under the mattress?
- can you still move normally through the van?
First build functionally. Only then finish beautifully.
A screwed test panel is less beautiful than a glued wall, but much easier to adjust when you discover that another cable needs to go behind it.
Mistake 21: Not using the van during construction
Some builders work on their van for months or years before sleeping in it for a single night.
As a result, decisions are made based on theory instead of experience.
As soon as the van is safe and usable enough, it's best to go away with a temporary setup. A mattress, a few crates, a simple cooking set, and lighting are sufficient.
Test:
- one night in the driveway
- a weekend at a campsite
- a rainy day
- a cold night
- cooking with the door closed
- working on a laptop
- sleeping with two people
- traveling with a dog or children
- making up the bed in the dark
You often discover surprisingly simple things then:
- the light is on the wrong side
- the bed is too short
- your table is too low
- you can't reach your clothes when the bed is made
- you miss a hook for your jacket
- your shoes are always in the way
- you want more ventilation
- you need fewer cabinets than you thought
That kind of knowledge doesn't come from a drawing.
Mistake 22: Not providing a budget reserve
A van conversion almost always costs more than just the visible materials.
Besides wood, insulation, and technology, you also incur costs for:
- maintenance of the base van
- tires
- tools
- glues and sealants
- fasteners
- cable lugs and connectors
- extra deliveries
- parts that don't fit
- technical service
- homologation
- inspection
- insurance
- weighing
- safety equipment
- error correction
- material you eventually replace
Therefore, provide a reserve in your budget.
Also, don't buy everything at once. Start with certain components and wait with luxury or expansions until the basics work.
A refrigerator, expensive inverter, or fixed shower can come later. A safe floor, good ventilation, and reliable electrical foundation are more important.
Mistake 23: Not keeping photos, diagrams, and documentation
Once a wall is closed, you surprisingly quickly forget where everything runs.
Therefore, during construction, take photos of:
- bare bodywork
- rust treatment
- insulation
- cable routes
- water pipes
- reinforcements
- attachment points
- fuses
- serial numbers
- gas lines
- heating
- floor construction
Also keep:
- electrical diagram
- water plan
- weight table
- product manuals
- invoices
- inspection documents
- material certificates
- data for windows and roof hatches
- fuse values
- cable cross-sections used
- photos of labels before they disappear
This is useful for maintenance, sale, and any questions during approval or inspection.
Also label cables and pipes. “That red cable must be from the refrigerator” is not a good diagnostic system three years later.
Mistake 24: Thinking everything has to be perfect
On the other hand, you can also keep planning and never start.
Your first conversion probably won't be perfect. After a few trips, you'll change things. That's part of it.
The goal is not to build the ultimate van for the rest of your life from day one. The goal is to create a safe, usable, and adaptable van with which you can gain experience.
Therefore, keep components modular where possible.
A removable cooking box, loose water bottles, screwed cabinet panels, and an adjustable table give you room to make adjustments later.
Flexibility is often more valuable than perfect finishing in a first build.
A better sequence for your first van conversion
A logical construction sequence prevents many of the mistakes above.
Step 1: Determine your use
Write down how you really want to travel. Not just the ideal scenario, but also rain, winter, work, dog, children, and longer trips.
Step 2: Check the legal direction
Determine whether the van remains a light commercial vehicle or officially becomes a campervan. Inquire about homologation, manufacturer's agreement, technical service, and inspection before making structural modifications.
Step 3: Have the base van technically checked
First resolve maintenance, rust, tires, and leaks. Building an interior in a technically unreliable van is working backwards.
Step 4: Weigh the empty van
This way you know your true starting point and can determine a weight margin.
Step 5: Create a full-scale layout
Use cardboard, tape, and temporary crates. Test the bed, passage, kitchen, seating position, and access.
Step 6: Create a technical plan
Draw windows, ventilation, solar panels, heating, electricity, water, gas, and maintenance access.
Step 7: Create a weight and power budget
Calculate what each component weighs and how much power you expect to use daily.
Step 8: Perform bodywork
Only after the plans and approval are clear, install windows, roof hatches, and other external penetrations.
Step 9: Lay cables and pipes
Do this before insulation and wall finishing. Protect everything from rubbing and take photos.
Step 10: Insulate and finish the base
Check that you don't block any drainage, door mechanisms, or maintenance points.
Step 11: Temporarily install furniture
Screw and test first. Only finish definitively after you have driven and slept in it.
Step 12: Test each system separately
Electricity, water, ventilation, heating, and cooking are checked separately first.
Step 13: Take a test trip
A simple weekend shows where the real problems lie.
Step 14: Weigh again
Do this with the van as close as possible to its actual travel condition.
Step 15: Finish and document
Only when everything is functional does the definitive finishing take place.
Quick checklist before you start building
Can you answer these questions?
- what will I use the van for?
- how many people need to travel safely?
- how many official seats do I need?
- will I remain a light commercial vehicle or do I want to become a campervan?
- what approvals are needed?
- how much does the van weigh now?
- how much payload remains?
- where are heavy components located?
- will a door and emergency exit remain accessible?
- is the bed long and wide enough?
- can I live inside when it rains?
- how do I ventilate while sleeping and cooking?
- how much power do I use per day?
- how do I recharge my battery?
- can I access fuses, pump, and shut-off valves?
- where do wet shoes and jackets go?
- what remains intentionally empty?
- can I temporarily test the layout first?
Are several answers still unclear? Then it's probably too early to build definitively.
The best first conversion is not the prettiest
A good first van conversion is safe, practical, not too heavy, and easily adaptable.
It doesn't need twenty cabinets. No gigantic battery. No marble countertop. No shower that you eventually use for storage.
It just has to work.
You need to be able to sleep without condensation problems, cook without danger, drive without everything moving, and get out without climbing over your bed. Your technology must be accessible and your weight must be correct.
I would always prefer to leave with a simple, half-finished van that has been well tested than with a perfectly finished interior that I don't yet know if it works in practice.
Because that is ultimately the biggest lesson in a first van conversion: you are not just building an interior.
You are building a small system that must continue to work while driving, sleeping, cooking, in rain, cold, and daily use.
The better you think about that in advance, the less you will have to start over later.
Source: https://mobilit.belgium.be/nl/weg/rijden/rijbewijzen/belgisch-rijbewijs/personenwagen-categorie-b
Source: https://www.antigifcentrum.be/Toxinfos/koolstofmonoxyde-co-in-detail/
Source: https://www.victronenergy.com/media/pg/The_Wiring_Unlimited_book/en/index-en.html